How To Vinyl Wrap Your Phone
Materials you will need:
X-ACTO Knife
Squeegee
Rubber Tip Blend Tool
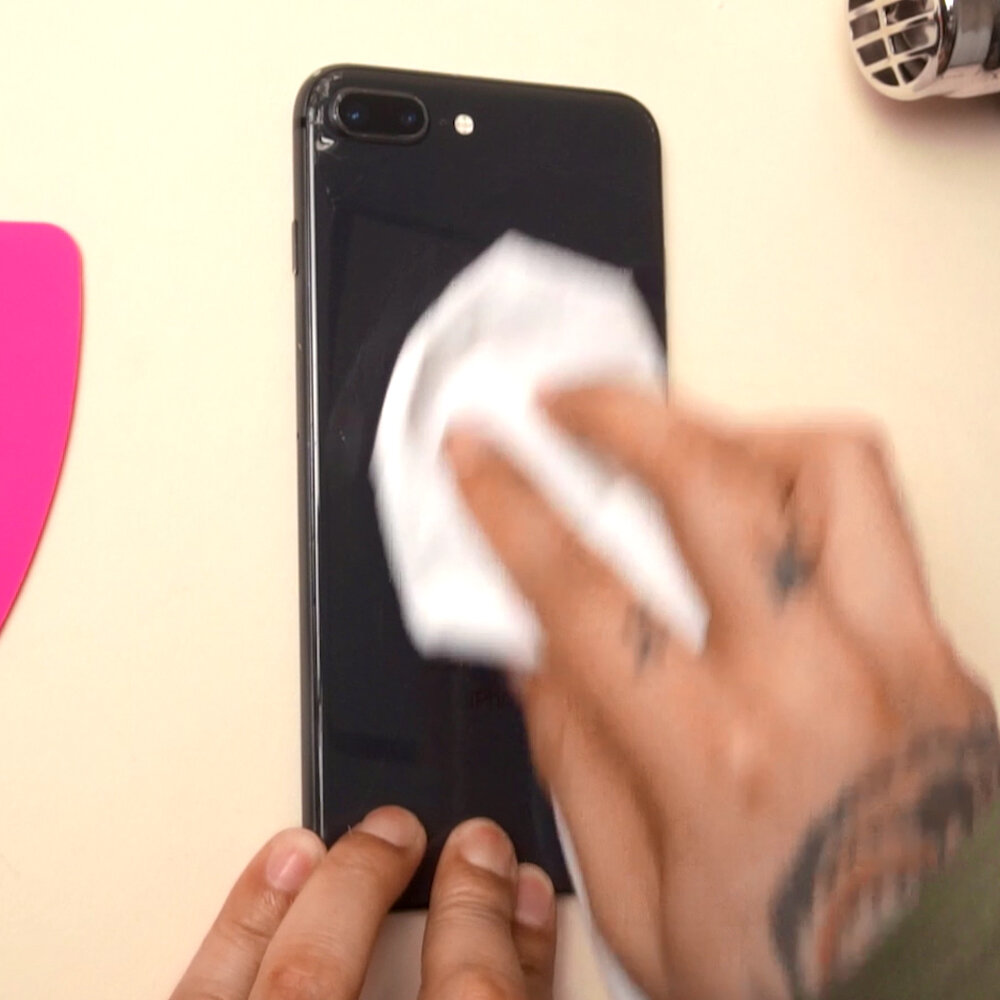
I’m going to begin by cleaning the back of the phone with rubbing alcohol and a clean rag, wiping off any dirt to start with a clean surface. I will then dry it using my heat gun on the lowest setting. Too much heat on any electronic will damage it, try at your own risk.
I used my vinyl cutter to cut out this apple logo which will give the final results a raised embossed texture. I squeegee the vinyl back and forth so it can better bond with the phone. I peel the backing from the vinyl slowly and make sure that the letters stick properly onto the phone.


I also cut out this circle that will cover my camera flash, this will give me a good reference on where to cut later since the flash on this phone is hidden under glass (some phone flashes are raised which makes cutting around them easier). I try to center this piece as best as i can so when i begin to cut i only cut around the intended area.

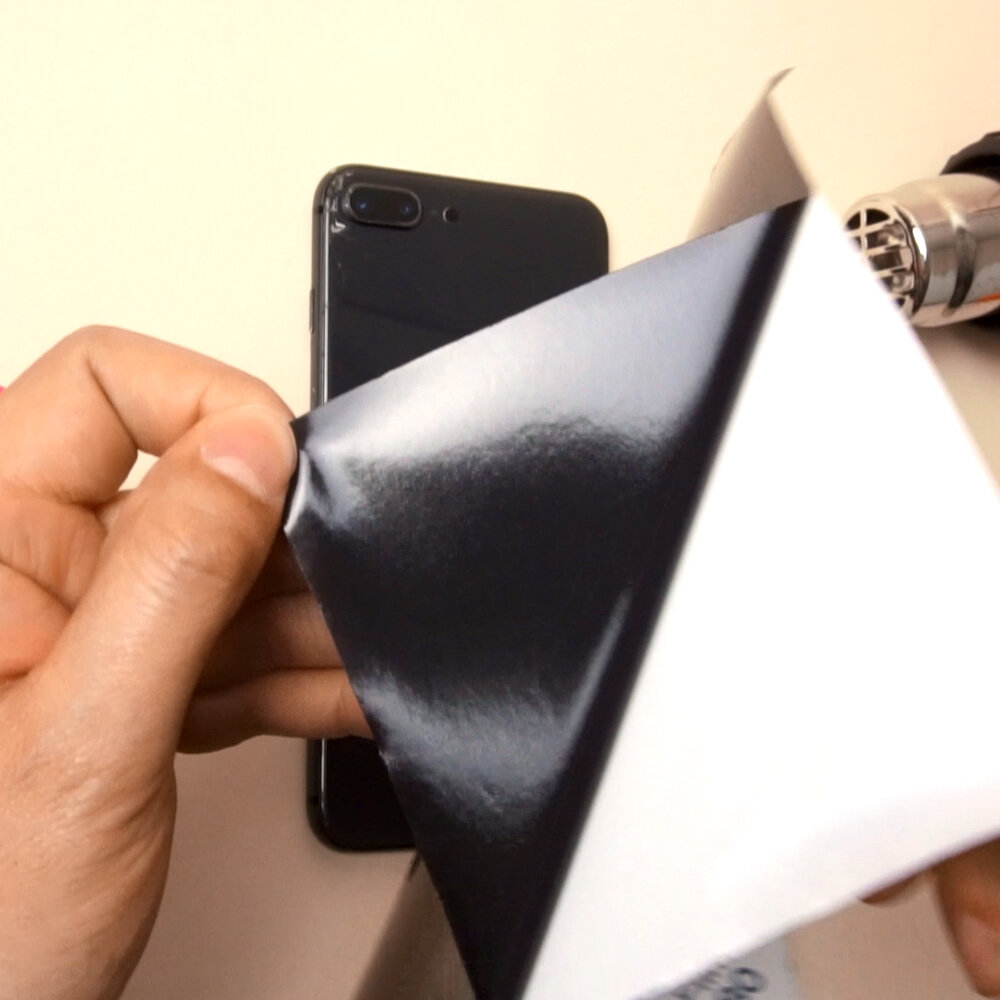
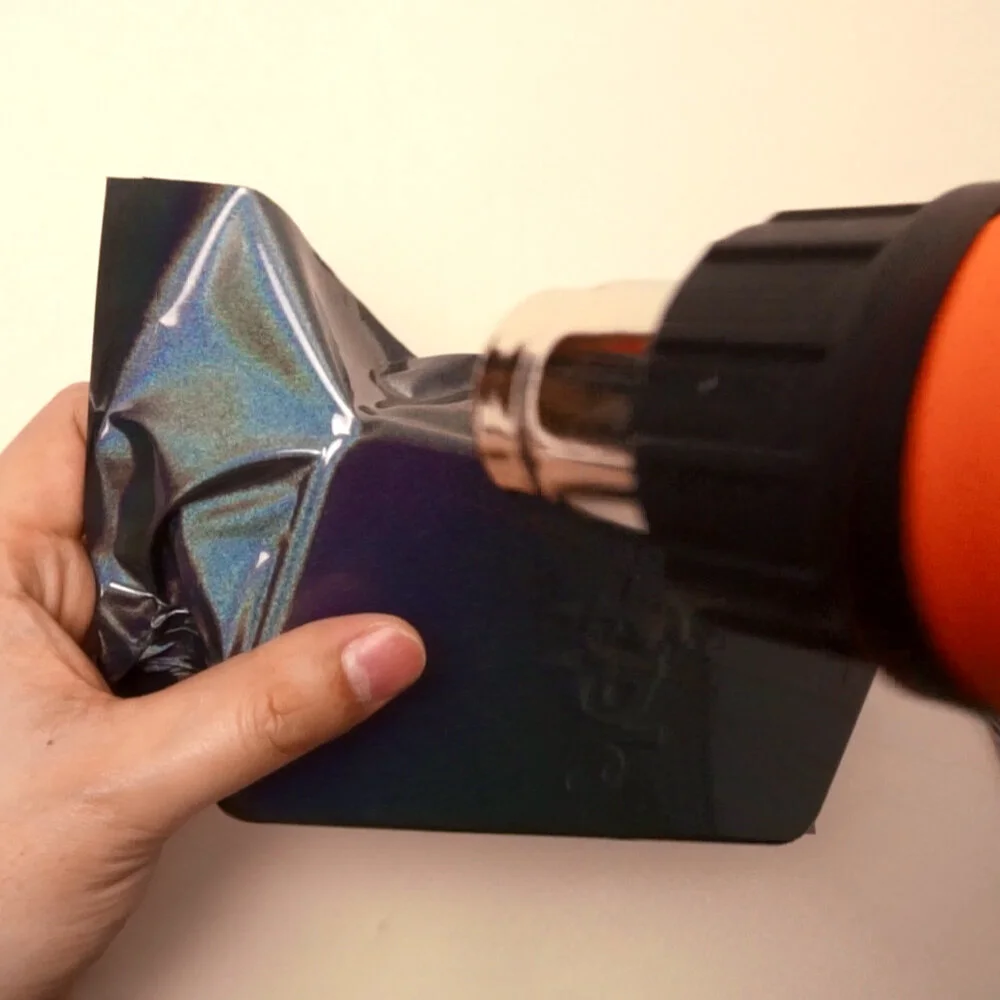
I remove the clear film from the front side of the 3M vinyl and peel the backing to expose the adhesive side. I lay the vinyl over the back of the phone and make sure to have enough material to pull from on each side.Using the squeegee I push out any any air bubbles. If you don’t have a squeegee you can use a credit card or plastic ID. Try to get the back as smooth as possible for a more professional finish

I will apply heat to the corners first. The heat will make the vinyl easier to work with. I make sure to pull with enough pressure so that vinyl conforms to the shape of the phone. Vinyl is strong so don’t be scared to pull hard. And while I did say vinyl is strong if the surface area you are pulling is small it can rip! To avoid tearing or ripping make sure you have enough material to pull from and don’t pull from a single spot on the vinyl.

After all the corners are done move on to the sides. Use the heat gun to make the vinyl conform to the phone and pull to get rid of any creases. After I am done wrapping i will use my nail to score out the area I will cut with my X-ACTO knife.


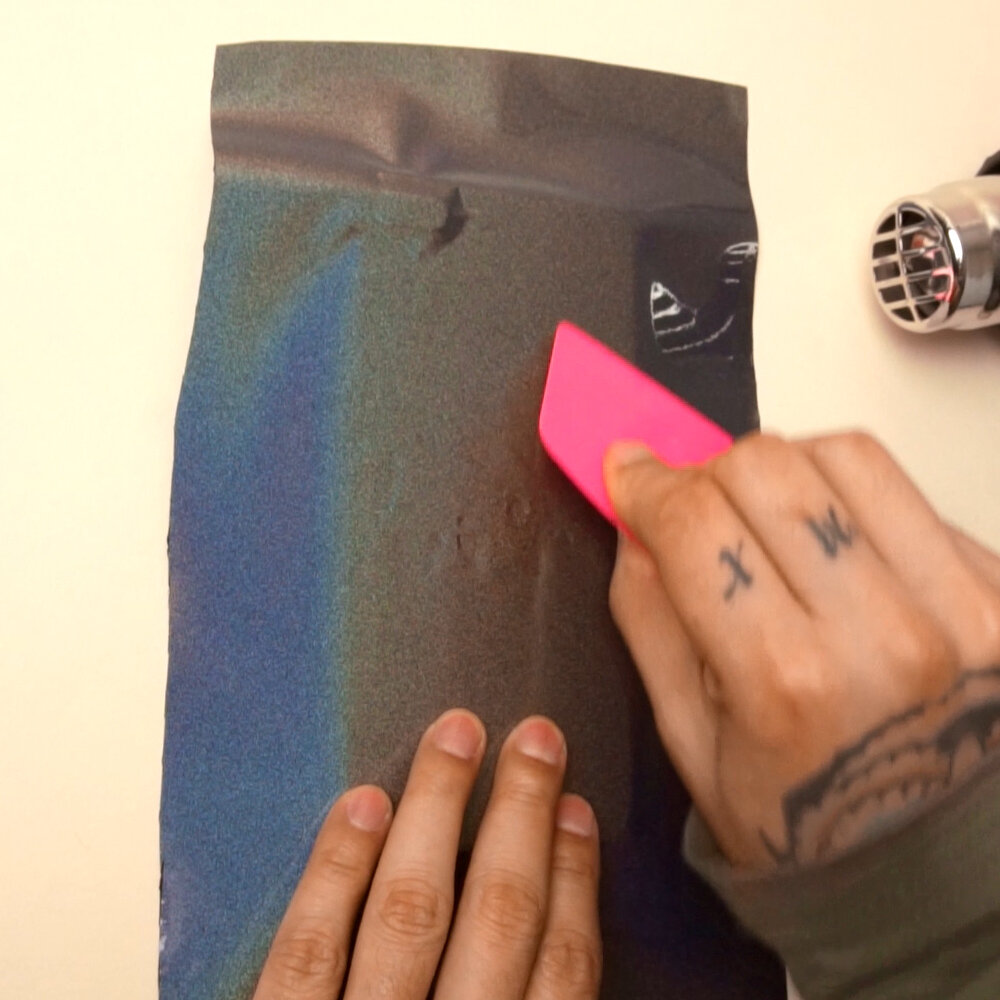
When cutting I am NOT pressing down with heavy pressie, I am letting my hand glide while letting the the tip of the blade do all the work. It is important to note that you should use a new blade for a more precise cut. I then remove the unneeded vinyl. I pull it away slowly in case I missed a spot when cutting, that way it doesn’t pull and stretch the vinyl where I didn’t intend.


Next will begin working on improving the embossing, using a clean rag i will rub the vinyl so that could take the shape of the letters. A rag works great because it’s soft and can shape itself to the raised areas while lowering to the low areas of the design. Using my rubber blend tool I can work around the edges of the letters to get a more refined finish.


If at some point you see small pockets of air you can use the tip of the X-ACTO knife to poke small holes and use the heat gun and then the rag to make the vinyl shrink and at the same time push out the air bubbles. Repeat these steps over until you are happy with the embossing.
Next begin by cutting around the camera, the flash and the buttons on the side of the phone. Using the previous method I will poke small holes to remove any air bubbles and use my nail to score around the area where I will cut. I will put light pressure on the blade because I don’t want to scratch my camera or my phone so take your time when cutting.


Next, cut around the camera flash using the small guide you placed earlier. Small cuts like these are tricky so try your best to make the circle as perfect as you can.


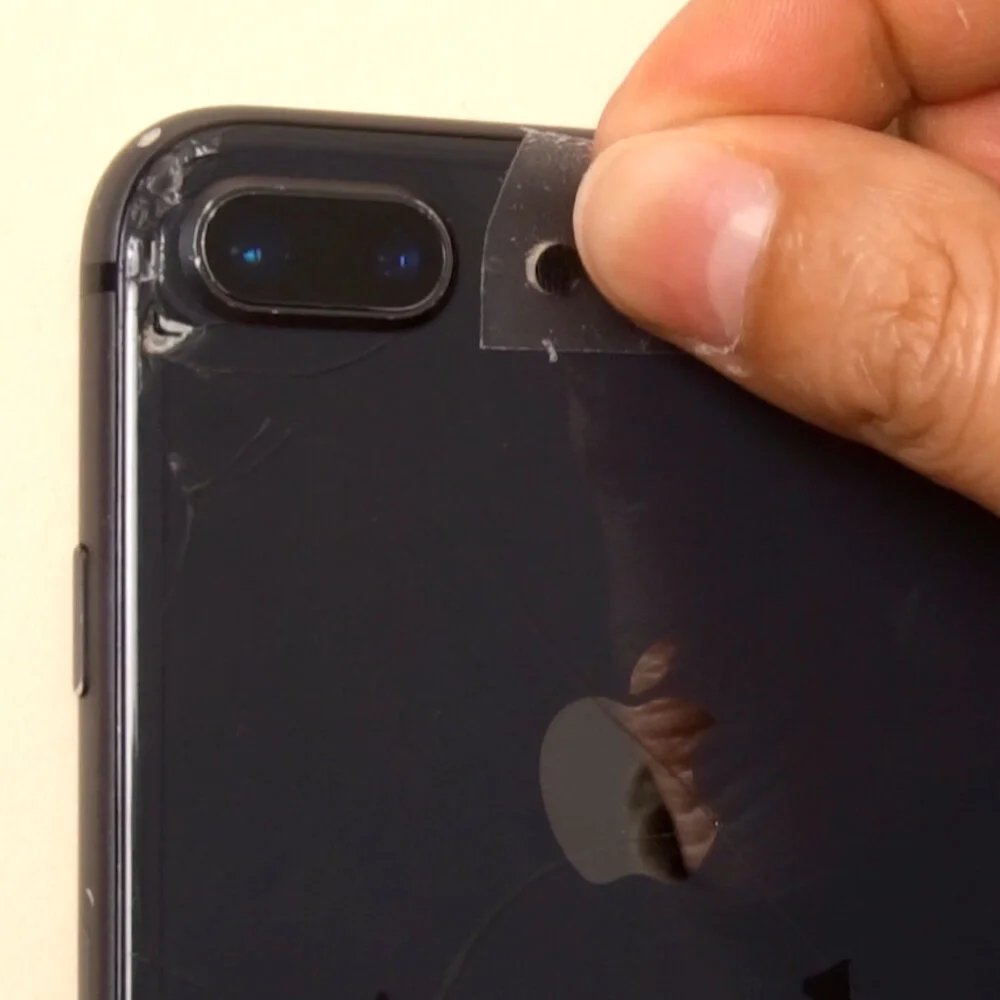
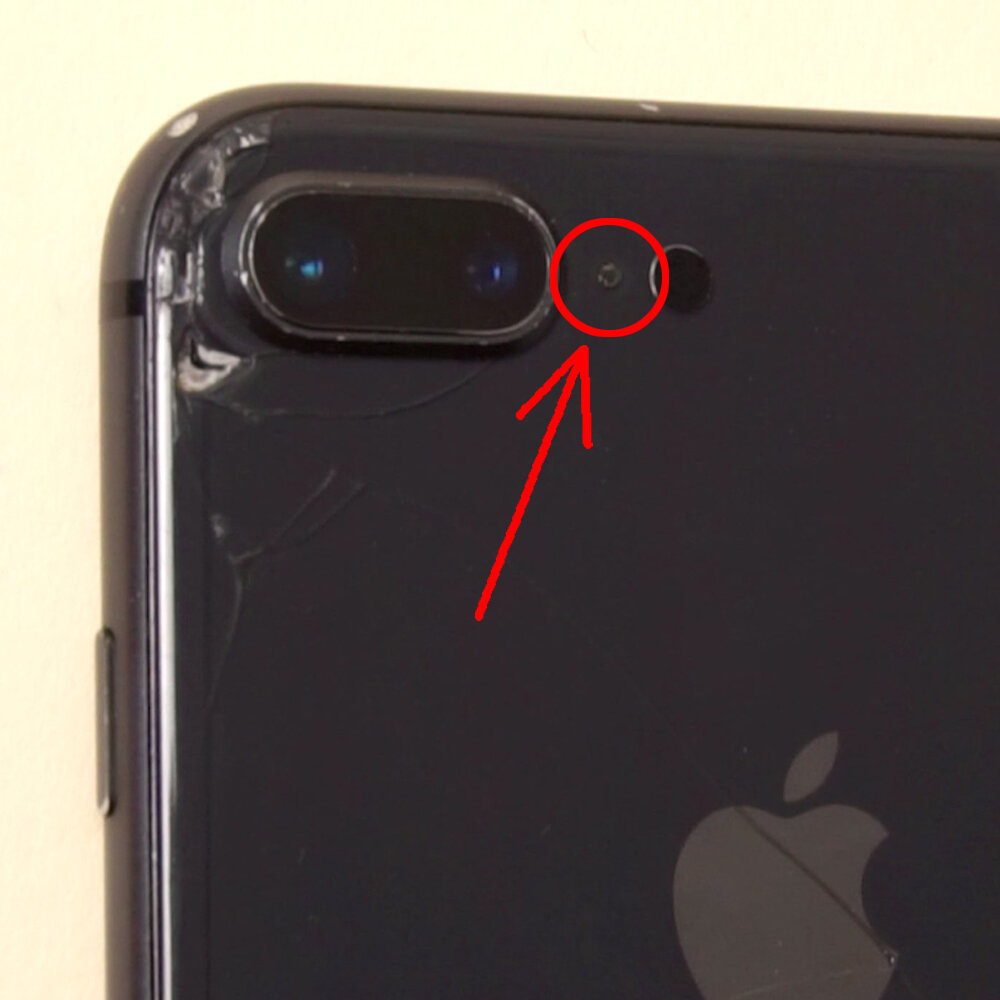
In my video I forgot to mention to cut around the camera mic located between the camera lens and flash (picture below). Some phones have this mic in other areas, if you do not cut around this area your audio will NOT be recorded or it may be muffled. With that said make sure you cut around the mic to get the correct audio signal when recording.
Using the same technique from before I will push out any air bubbles and score around the buttons. Turning my phone upside down when going around the buttons made it easier when cutting. These cuts should give the buttons room so the vinyl doesn’t get caught between any crevasses around the buttons. If you feel like the vinyl is making your buttons hard to press cut further away from the button. After a complete cut the vinyl can easily be removed.


Finally, cut around the speaker and charging port. You DON’T want to go too deep when cutting the charging port because it can damage hardware that can leave you’re phone unable to charge. Using a new and sharp blade will make it easier to cut around the small speakers.


After everything is done I will hit the vinyl with the heat gun one last time and I will inspect the phone to see if there any areas that need to be refined. After everything is said and done this is what you get— a color shifting vinyl wrapped phone!

There are so many types of wraps colors and style that after you wrap one phone you want to wrap another one and another one.
Leave me a comment down below if you have any questions, Thank you so much for reading.